Replacing 4-point WINKHAUS Roller Lock in Weather Shield Door
Replacing 4-point WINKHAUS Roller Lock in Weather Shield Door
This tutorial will guide you through the process of replacing the 4-point WINKHAUS roller-style lock (part #499117699) in a Weather Shield door with a 3-point tongue-style HOPPE lock (part #4990220).
- Use a pencil to mark height of handle and alignment line on edge of door panel before removing lock. New lock has to be at same handle height for roundbolts to line up with jamb-side strikes.

- Loosen set screws on base of handles, and remove handles.
- Remove interior/exterior escutcheon plates.
- Unscrew cylinder screw on door edge (where latch is located), and remove cylinder.
- Lock runs entire length of vertical edge of door. Remove all screws.
- Remove the multipoint lock from the door edge.
- Connect the top extension (middle extension for lock D) of the new HOPPE lock to the bottom gear.
- Place new lock into mortise in door edge, making sure handle alignment line matches up to line drawn in step 1.
- Check the handing of your lock. Is the slope of the latch facing the jamb? If your lock is handed wrong, remove it, reverse the handing, and put it back in place.
- Measure from handle alignment line to top of door panel, and mark with permanent marker on the lock where it needs to be trimmed to fit in the door.
- Use a hacksaw to carefully trim the excess lock off. The lock will be hot after trimming and sharp at the rough edge. We recommend filing it to smooth it out. For more information on trimming locks, click here.
- Loosely screw the lock in place in the door.
- Insert a handle and spindle in the handle hole to check lock operation while door is open. *Note: new lock has a mishandling device (between deadbolt and spring latch), which must be pushed down in order to engage locking points. While door is open, push down with fingers.
- Reinstall escutcheon plates and handles.
- If door functions properly, unlock lock and install and tighten all screws running up and down length of faceplate.
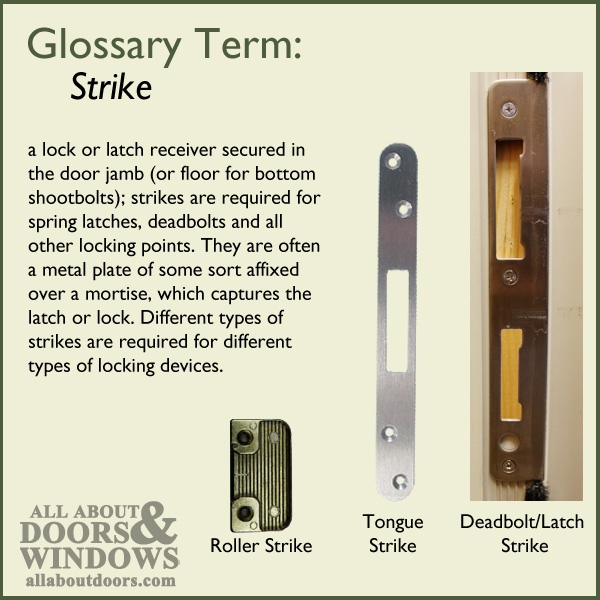
- Remove roller strikes, measure where the tongues of the lock meet up with the door frame and install new HOPPE tongue strikes. You may need to chisel out a new mortise or elongate an existing one in order to fit the new strike plate.
- Note: Always 'test' for correct strike location with the door open. Eyeball and measure carefully before installing and attempting to close the door or the door could become stuck in the locked position.
- Note: The middle roller strike will be unused and can remain in place (instead of taking it off and having to deal with a raw mortise in the door jamb).
- Note: The deadbolt strike plate should not need to be moved. It can be replaced with a HOPPE strike if desired, but the new lock should work with the original strike plate.