Changing the Handing On a Commercial Mortise Deadlatch
These instructions are intended to guide you in changing the handing on a commercial storefront deadlatch lock.
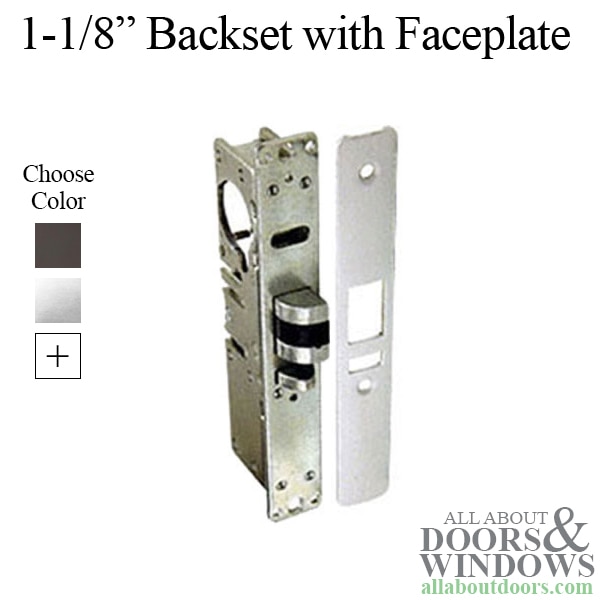
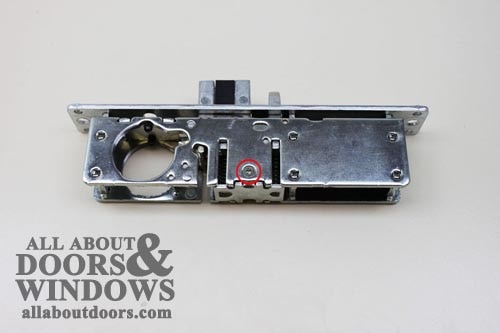
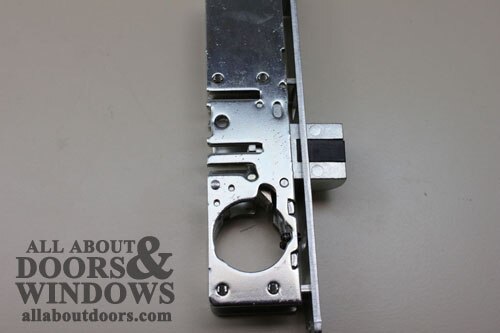
We start with:
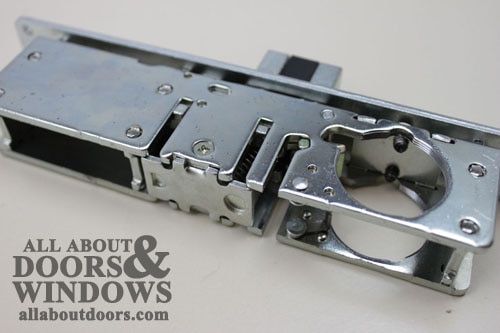
Remove one screw from each side of the lock.
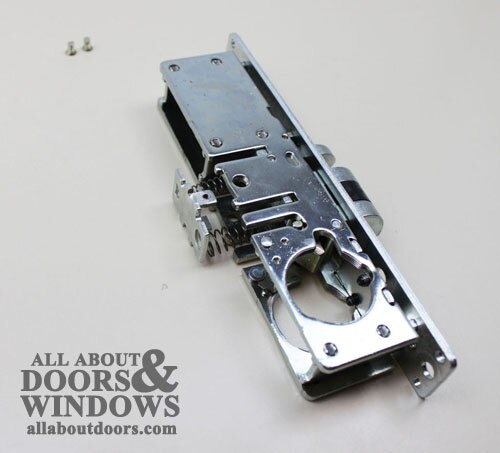
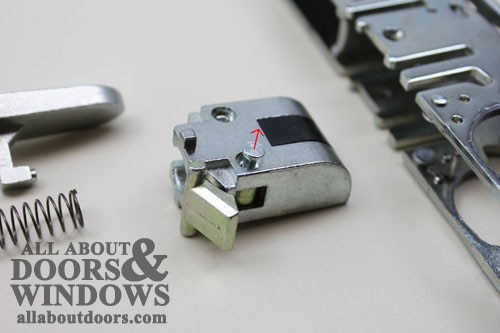
Carefully remove parts assembly, then tap the retaining pin to expose its head.
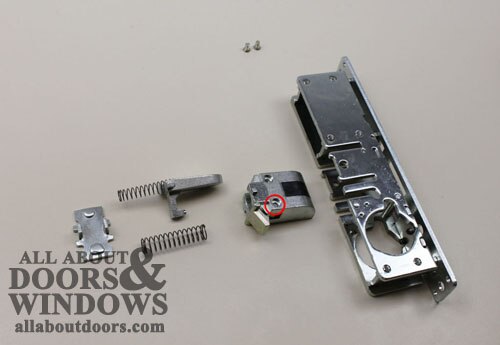
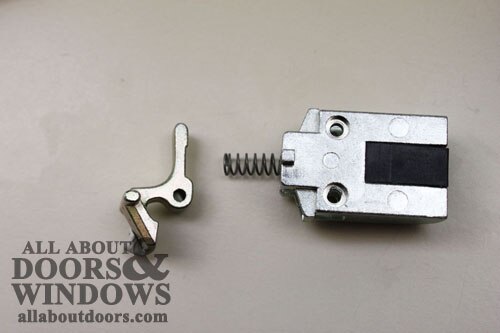
With your finger holding the lever-piece in, pull the pin the rest of the way out. Slowly allow the lever-piece to raise up, and remove it. Do this carefully, as there is a spring underneath.
Flip the latch over, and then reassemble it by setting the spring down into its retaining hole. Lay the squared tab of the lever-piece on top of the spring, and then gently push the piece down into the latch until you are able to insert the pin through the latch and lever-piece, holding it all together. Visually inspect the latch from the side to ensure that the spring is still vertical and is not kinked or bent sideways.
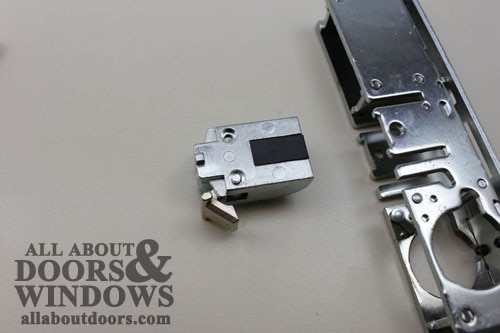
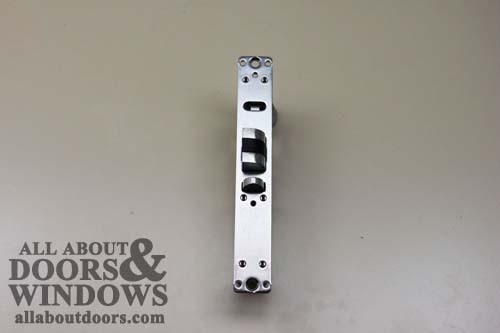
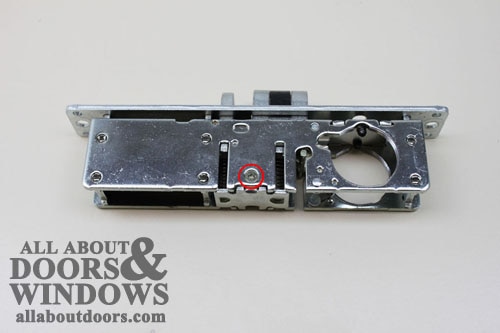
Slide the latch into the lock, and then pinch the lever-piece inboard in order to slide the latch all the way into place.
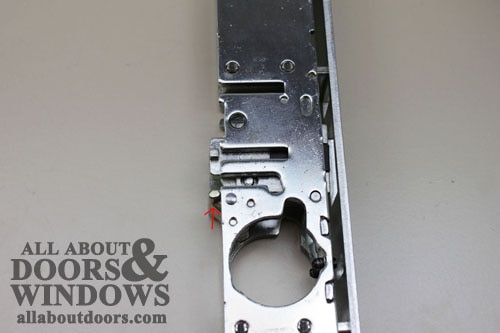
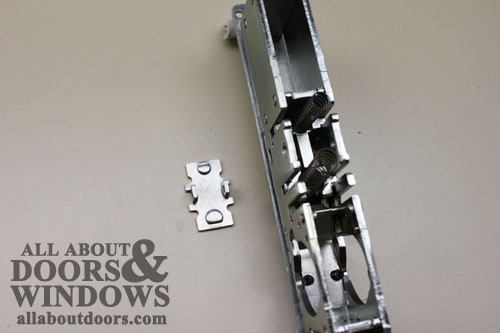
Re-insert the smaller spring into the lock piece, and then slide it back into place.
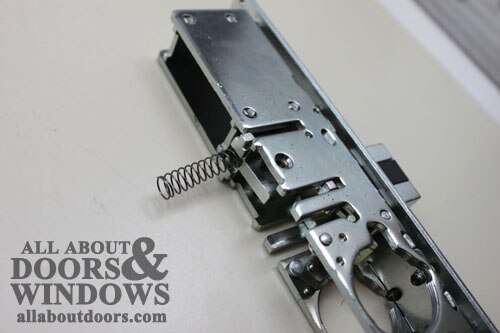
Re-insert the larger spring into the back of the lock. Set the backing plate onto the two springs with the smaller tab going into the smaller spring and the larger tab into the larger spring. Push down while keeping the springs on their tabs, and then re-insert the two screws on either side of the lock.